How to papercrafting

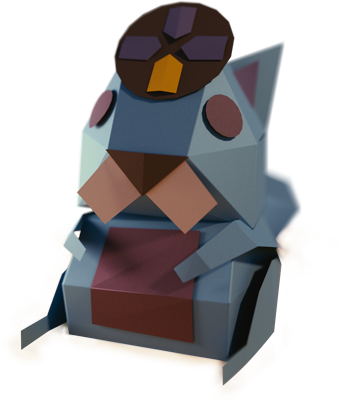
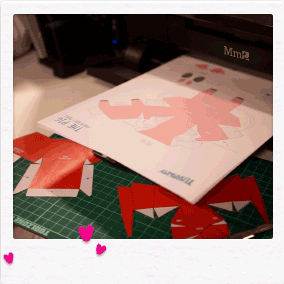
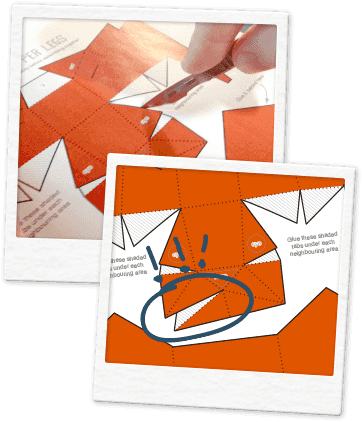
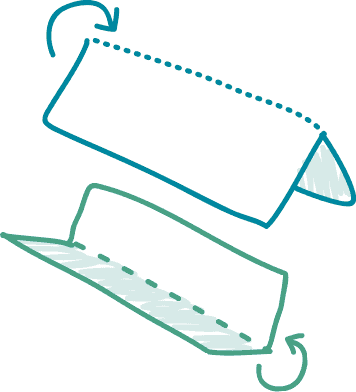
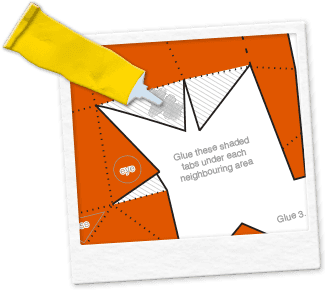
Making the Tearaway papercraft models is easier than you might think. It requires some patience and care, but it's a cutty-outty sticky-gluey fun-fest that anyone can enjoy!

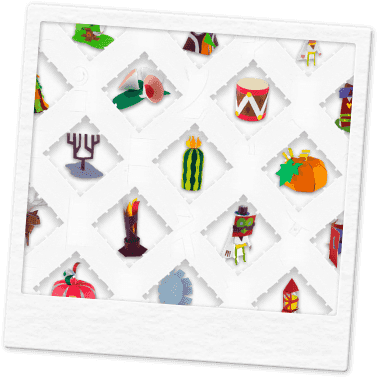
We've rated all of the models by difficulty, so if you’re not sure of your abilities, it might be best to start with one of the easier ones, so that you can go through the whole process to completion before moving on!

Having said that, sometimes it's fun to jump straight into the deep end, so don't feel too put off by the models we've rated as being hard.

Squirrel

Things you might need

Tidy cuts & folds

Steel ruler

Ruler

Cutting & slicing

Scissors or a good, sharp craft knife - adult supervision is recommended!

Knife Scissor

Sticking

Strong all-purpose glue

Glue

Optional pro extra for pros who want to be a pro

Scoring tool for tidy folding

Scoring tool

Downloading

Browse to your papercraft collection and you'll see all the plans available to you in colour. The ones you have yet to unlock are in black and white.

Click on the plan you wish to make and you'll be taken to that plan's page. From here you can check the difficulty and also download the plan.

The plan will download as a .PDF file. If you have trouble opening it, you might need to install Adobe® Reader®, which you can do for free by following this link:

Downloading Download!

Printing

It's best to use thick paper or thin card to print onto. Paper thickness is rated as 'gsm': the higher the thicker.

We have found 200 gsm to be particularly good, but have seen good results on 160 gsm too.

Open the PDF of the plan you wish to make (see above if you're having problems) and print it on to the card!

Printing
200GSM

Cutting out

Cut out with a sharp craft knife, scalpel, or a pair of scissors. Please remember to BE CAREFUL YO! Adult supervision is recommended, even for other adults.

Cut along the solid lines! Some are sneaky, like these ones on the squirrel.

Please don't slice yourself! <3

Cutting out

Scoring, Folding & Sticking

Once you've cut out all the pieces, take a ruler and use the back of your knife or scissor blade to score along the dotted lines, or for a valley fold, on the other side. You’re not trying to cut through them, you just want to crease the paper, to make it easier to fold.

Fold along the dotted lines that you have scored. Generally the folds are 'mountain folds' meaning the fold ends up at the top, and the sides slope away, like a mountain. Sometimes the folds are 'valley folds' which are the opposite.

Sticking it together

Apply glue to the grey shaded areas. We recommend a fairly strong all-purpose glue.

When you glue two parts together, remember to pinch that area tight for 10 seconds or so, until the glue sets.

Folding Sticking

Quick Tips!

For best results

  • Print onto the stiffest paper or card that your printer can manage, we recommend 200 gsm but have seen good results with 160 gsm.
  • You might find it useful to leave the PDF plan on screen so you can still read the instructions after cutting out your model.

Line guide

  • Cut line
  • Fold line - this is generally a ‘mountain’ fold where the fold is upwards, like a mountain.
  • Valley fold line – when this is shown it’s essential that the crease goes downwards, like a valley.
  • Optional fold line.
  • Glue area.